Facebook
 X
X
 Pinterest
 Copy Link
The meaning of home has expanded over the years, adding new activities beyond eating and sleeping. For many this means home has more space to work and do hobbies. But as those things expanded, the feeling of relaxation may have dwindled, and for those struggling with the mental health implications of this, creating a space in your home that is dedicated to reducing stress could be the ticket to achieving a sense of peace and calm. Whether you use that space to meditate, exercise, or read, having a place in your home to focus on your mental health can change the way you show up for yourself and the important people in your life.
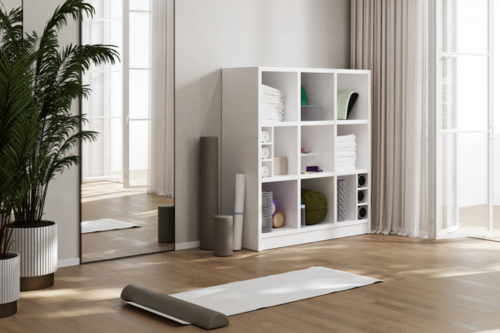
Image Source: Getty Images Lytvyn
Fitness Corner
If exercise is your chosen route to improved mental health, a small home gym could be right for you. How you set up your fitness space will depend on your preferred form of exercise, as well as your budget.
If your routine requires a treadmill or indoor bicycle, make that the focal point of your space. If yoga, Pilates, or barre is more your speed, you’ll need room to unroll a mat and move freely. Weightlifting or body-weight exercises might necessitate more space and equipment but are both feasible even in a corner of your office or a walk-in closet.
Regardless of how you plan to get your sweat on, use nearby wall space for shelving or hooks to store equipment. This could range from light hand weights and exercise bands to jump ropes and yoga mats. If you need more storage, find furniture that serves multiple purposes. For example, a cabinet that stores towels can also double as a surface for a small fan and your water bottle.
For extra motivation to spend time in your exercise area, add a little personalization. Wallpaper or bold paint colors not only add visual interest, but they also create a sense of separation from the rest of the room or area. Soothing art and living plants are particularly apt for spaces dedicated to yoga.
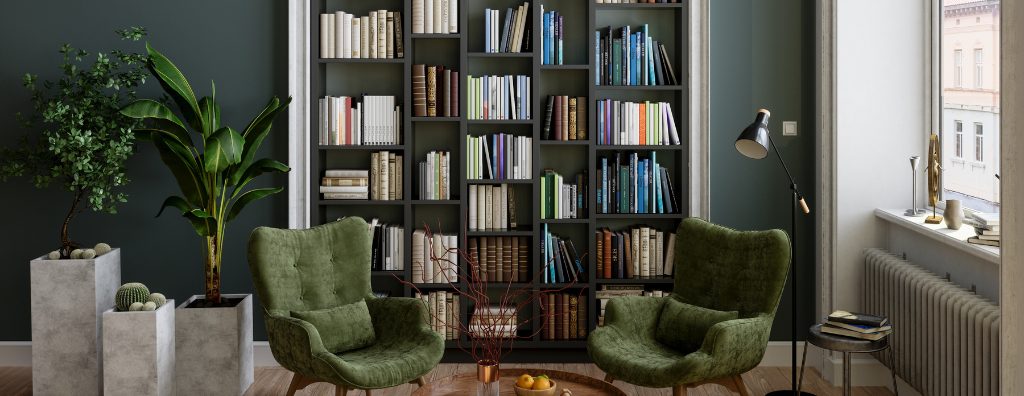
Meditation Space
Meditation is a great way to calm the mind, and you don’t need special equipment or a lot of room to do it. Creating your own meditation space can be simple, quick, and doesn’t require a large investment.
Start by finding a place in your house that is as free from distractions as possible. This could be a corner in your bedroom or a section of your backyard or terrace. Ideally the space would be near a window or natural light source.
Where and how you sit can make or break a meditation session. A chair, meditation cushion, or yoga mat that allows you to sit comfortably for several minutes while keeping you alert will do the trick.
If you plan to listen to guided meditations or music, a small Bluetooth speaker can be a good option if you want to avoid using headphones and will have better sound quality than listening from your phone’s speaker.
Though many people prefer to meditate with their eyes fully closed, visual elements can help set a serene scene. Plants, candles, statues, and art can also add a sense of your personality. If clutter stresses you out, keep your decor clean and minimalist. You can include your other senses in your meditations by adding a water feature and burning incense or essential oils.
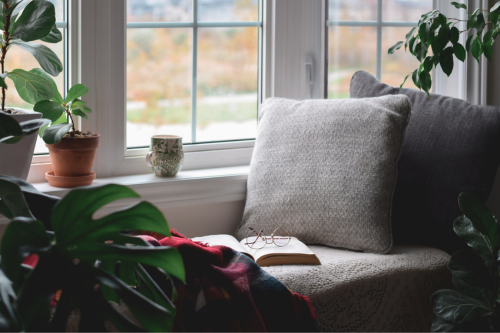
Image Source: Getty Images JulieAlexK
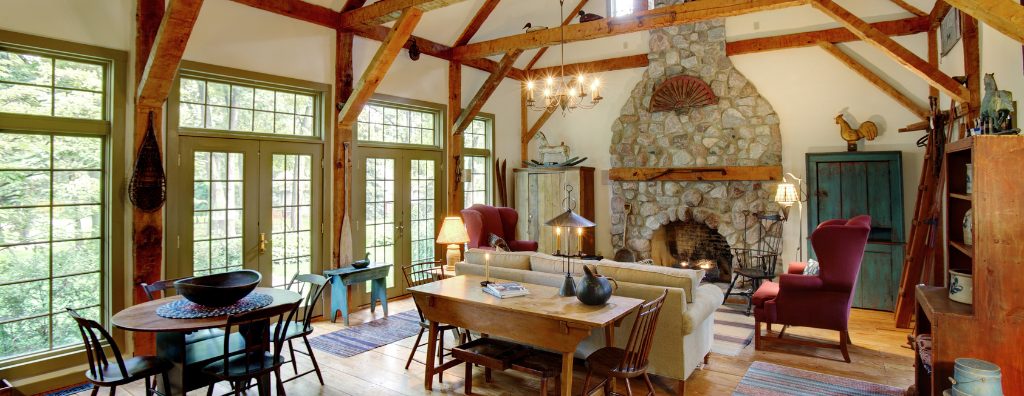
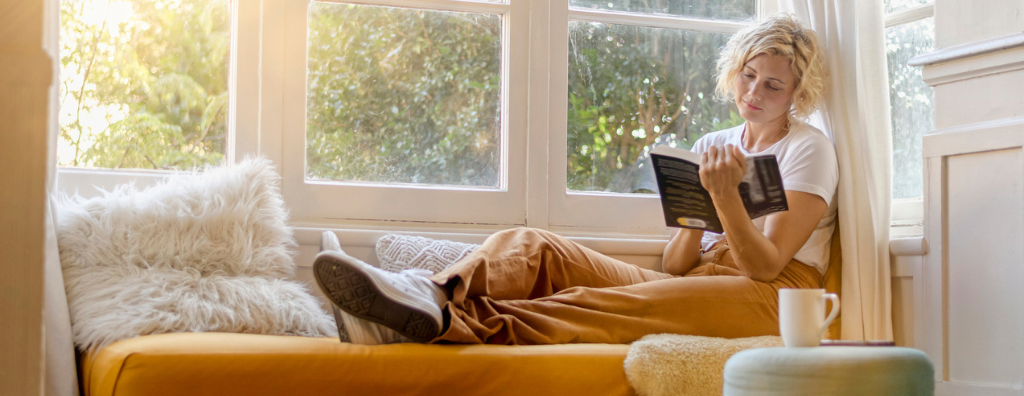
Reading Nook
If getting lost in a good book is your favorite way to unwind, a reading nook will quickly become your favorite spot at home.
Whether you’ve got a corner or a closet to dedicate to the space, the key to hours of reading enjoyment is the right seating. It’s hard to beat the traditional wingback or club chair, but smaller spaces might call for more creative ideas. Floor cushions, padded benches, bean bag chairs, and hammocks are all options.
Once you’ve got your sitting area situated, lighting comes next. A location near a window that brings in natural light is ideal, but for those who love to read late into the night or who don’t have a window nearby, standing or table lamps and wall sconces will save you from eye strain.
If you’ve got the space, a side table for cocoa, coffee, or tea is a nice addition. It’s also a great area for that mile-high “to be read” pile book lovers are known for. Even better if it’s got a drawer for bookmarks, reading glasses, pens, and notebooks.
For extra coziness, add a throw blanket or shawl and some cushy pillows.
Make these ideas come to life, check out our Pinterest board for inspiration.