Facebook
 X
X
 Pinterest
 Copy Link
There’s no doubt about it: summers are getting hotter. While many of us who live in the western United States have been able to do without central AC in years past, rising temps make it more difficult to beat the heat. If installing central air is beyond your budget, try these tips to keep cool. The best part: some of them are free!
Get Low
Heat rises, so the lower you can get, the cooler you will be. Basements are often the coolest part of the house because they are low and often darker due to a lack of windows. Spend the hottest part of the day in your basement or on the lowest floor of your home. If your home has a hard time cooling off at night, consider moving your bedroom to the first floor or basement for the dog days of summer.
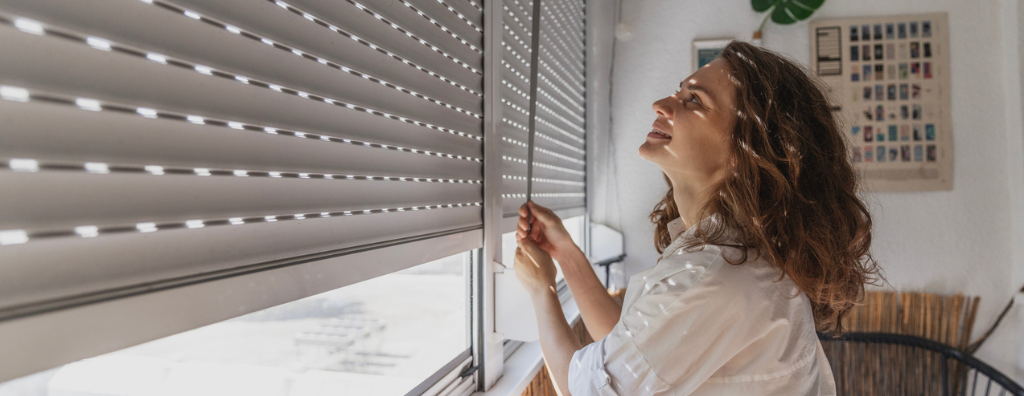
Go Dark
It seems a shame to block out summer sun when many of us crave that extra daylight the rest of the year. But when outside temperatures soar, that’s exactly what you should do. Use blackout shades or curtains and keep them closed during daylight hours. If you live in a region where temperatures cool down overnight, open windows as soon temps are comfortable outside and then close them again when it warms up. If you need to do chores around the house, overnight or early morning are the best times of day to do laundry or run the dishwasher, since those appliances give off heat while in use.
Stay Hydrated
Of course, sipping on a cold drink is a great way to cool down quickly, but staying hydrated is important for other reasons. In extreme heat, dehydration can happen very quickly, and it often leads to headaches and dizziness. If you’re tired of plain water or want to avoid juice and soda, snacking on cucumbers, watermelon, pineapple, citrus fruits, and cold soups like gazpacho is a great way to keep cool and hydrated—and because you don’t have to cook them, you won’t heat up your house using the stove or oven.
Take a Cold Shower
This one seems obvious, but the effects really can last for hours. For a quicker fix, try running your wrists under cool running water, or get a rag or towel wet and wrap it around your neck or place it behind your knees.
Be Creative
A fan is nice, but when it’s just blowing around hot air, it’s not doing much to cool you down. Instead, turn your fan into a swamp cooler. Hang a wet cloth over the rotors (but not the motor), place a bowl of ice cubes in front of it, or place frozen water bottles directly behind it to cool the air that is coming through the fan. And though it’s tempting to have the fan pointing directly at you, strategically placing it so that it’s circulating air will help cool down the whole room.
Invest a Little
If you’ve used all the tricks above without success and you’re willing to spend a little money, you have options that don’t involve installing central air. Mini splits have drastically increased in popularity in the past several years thanks to their efficiency and cost effectiveness. As opposed to cooling the whole house, they give you the ability to cool only the rooms you use most. Window unit or portable air conditioners can provide similar singular-room cooling for a lot less than central air. These are also good choices for homes that don’t have the ducting required for AC.
Of course, installing central air, or even mini splits, can increase the value of your home. To find out how much, get in touch with your Windermere agent.


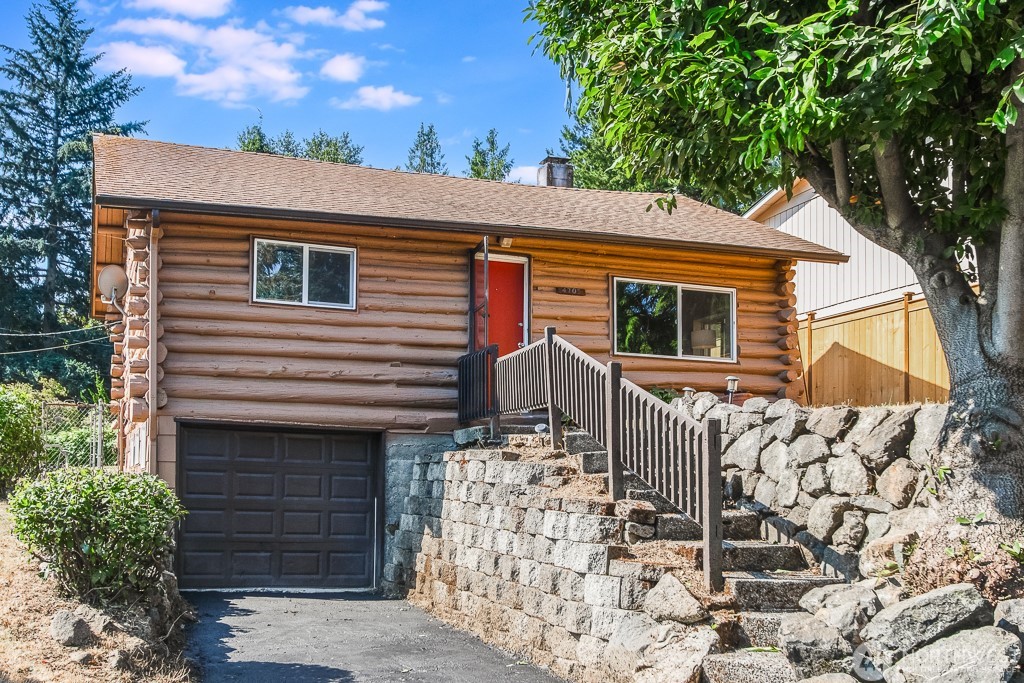


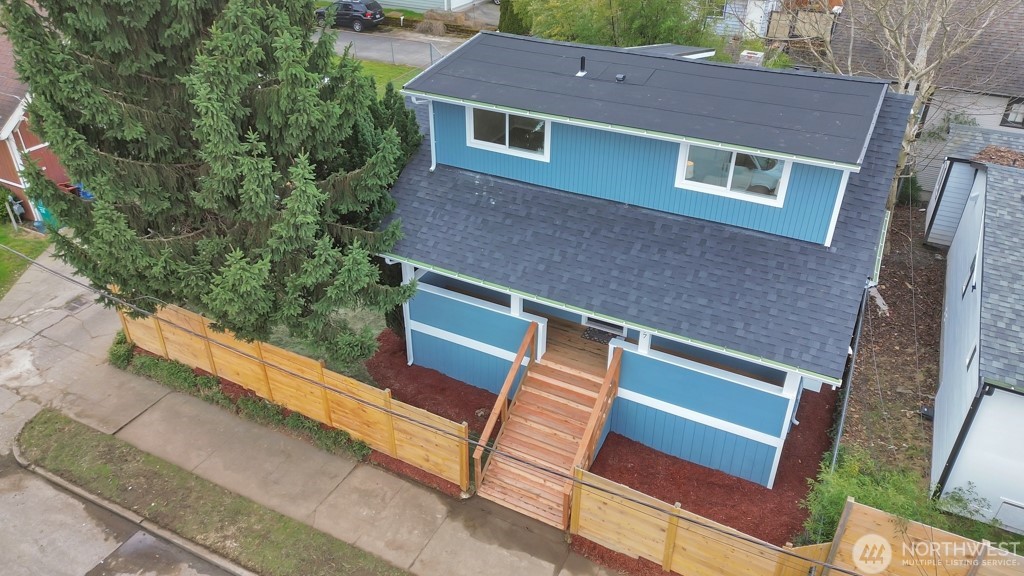
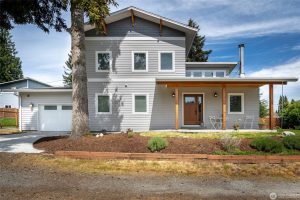 11423 12th Avenue SW
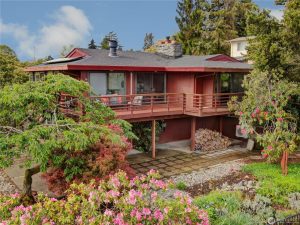
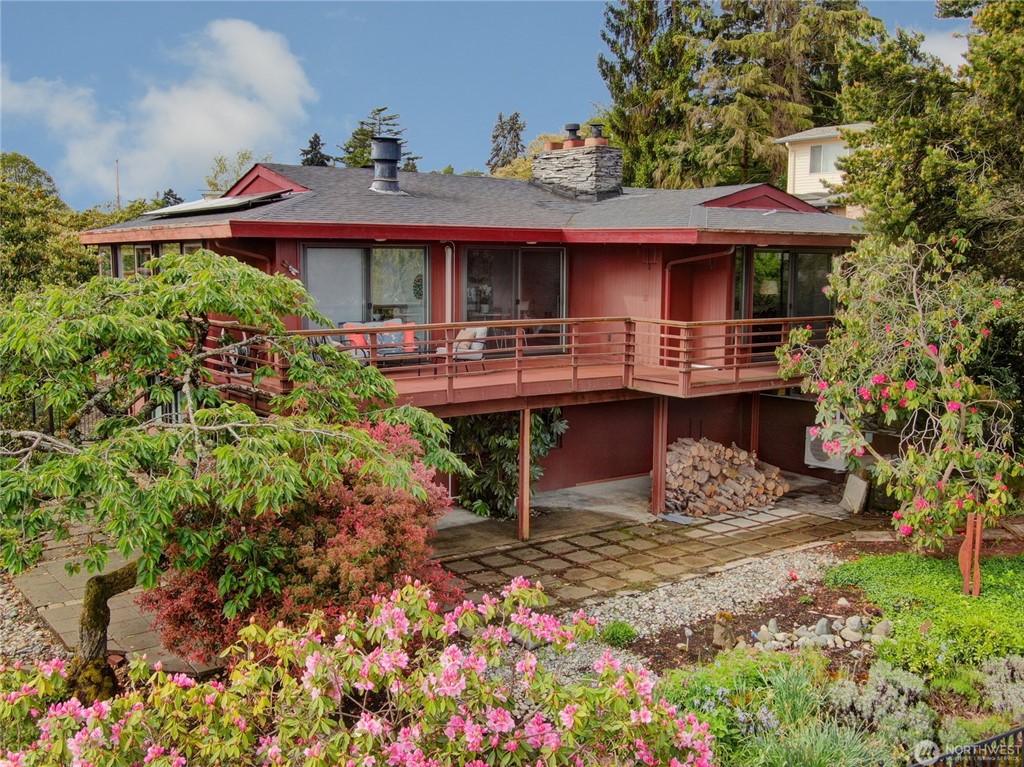
 29824 8th Avenue S