Facebook
 X
X
 Pinterest
 Copy Link

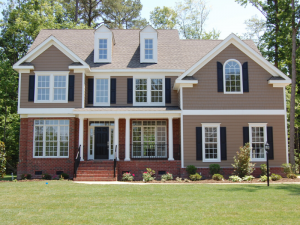 When it comes time to sell your home, first impressions are crucial. Improving your curb appeal helps to make the most of a buyer’s first glance and sets the stage for their interest in purchasing your home. The following projects are simple and inexpensive ways to enhance both your home’s first impression and its value.
Landscaping
- Lawn: A healthy, well-tended lawn goes a long way towards improving your curb appeal. Clean up all weeds, leaves and debris, and consistently water your lawn to give it that fresh green look. If you live in an arid climate, consider grass alternatives like artificial turf for the best lawn aesthetic.
- Plant colorfully: Adding color variety to your front yard will grab buyers’ attention. Align smaller plants, like groundcover and flowers, neatly within your flower beds, aiming for symmetry when possible. Use larger plants and trees to frame in your entryway or walkup. If your front yard doesn’t have flower beds, try adding hanging planters or window boxes.
- Lighting: Landscaping lighting boosts your curb appeal during nighttime, accentuates your shrubbery, and adds a welcoming touch for visitors as potential buyers, lighting the way to your door.
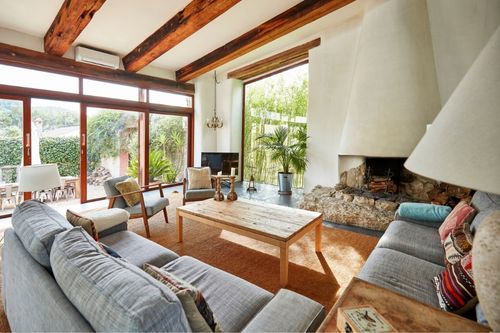
Porch
Front porches set the stage for all your home has to offer. Improvements here will play a significant role in how comfortable potential buyers feel about the property and how inspired they are to explore the inside of the house.
- Door: Your front door is an opportunity to make a tasteful statement. Look at bold color choices that are within or slightly stretch your home’s exterior color palette. Take time to prepare the surface for a fresh coat of paint to make the color pop as much as possible. Try stylish doorknob options that accentuate the aesthetic to give your door some added flair.
- House numbers: New and stylish house numbers are an easy, eye-catching touch to the look of your porch. Look for styles that match with your exterior color palette and any exterior lighting fixtures.
- Go for comfort: Incorporating classic front porch elements like a porch swing, sitting bench, and other outdoor furniture gives a welcoming aura to the front of your home and creates a sense of comfort for prospective buyers.
- Shutters: Windows are the gateway to the inside of your home. Shutters of delicate fabric will bring elegance to your front porch, while wooden shutters deliver a solid, cozy vibe.
Other
These miscellaneous projects will add the finishing touches to your home’s curb appeal and get it in prime selling condition.
- Quick maintenance: Small chores and minor fixes like cleaning gutters, repairing chipped paint, and cleaning windows are important for buyers with a detailed eye.
- Staining: Instead of replacing fences or garage doors, look into applying a fresh stain. This brings a refreshed look and is much cheaper than a full renovation or replacement.
- Power wash: Power washing your walkways and driveways makes a significant difference in curb appeal. If buying a power washer is outside your budget, explore rental options from the big-name hardware stores.


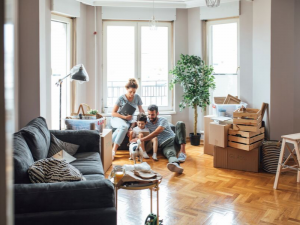 Congratulations on your new home! You made it through the arduous process that is buying a new home. Now it’s time to take on the task of moving in.