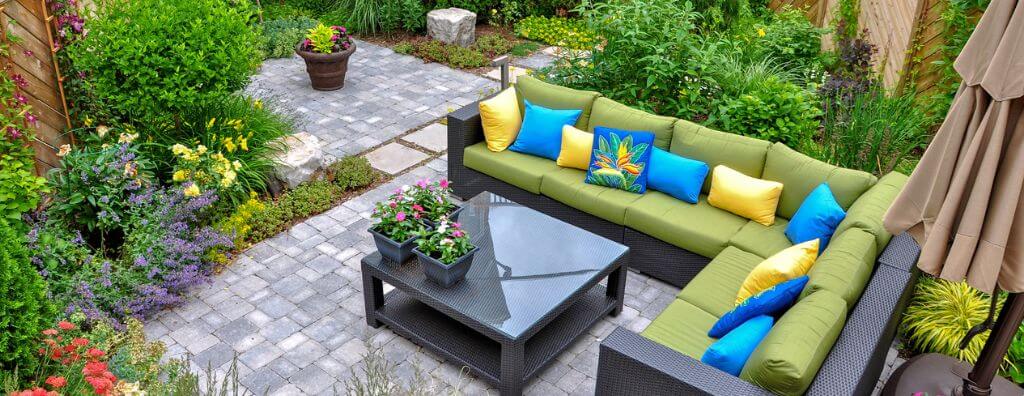
Homeowners are often on the lookout for DIY projects that are fun, simple, and boost curb appeal. Patio pavers create a focal point in the backyard. They set the stage for get-togethers and will give you endless ideas for different ways to entertain your family and friends. With a little planning and a few trips to the hardware store, a new patio can give your outdoor space a landscaping makeover.
How to Install Patio Pavers
A paver patio is a great way to unlock your inner landscape architect. It can handle heavy foot traffic and gives your backyard a refined, organized look that gives you a dedicated space to relax. This is a DIY home project that can be completed over the course of a weekend, but given its physical demands, you may want to spread the work out over multiple days.
Materials Needed
Your patio measurements will determine the amount of material you need to purchase. Once you’ve calculated your patio’s square footage, you’re ready to hit the hardware store. You’ll need to buy the pavers themselves, a paver base and sand for the bottom layers of your patio, plus additional paver sand to fill in the gaps once the pavers are set in place (like grout). You’ll also need to consider how you want to set the edge of your patio, which can be done with concrete or a metal or plastic edging to secure the pattern of the pavers. In terms of tools, you’ll need common toolbox tools (tape measure, shovel, level, broom, hammer, garden hoe, rake) plus job-specific tools like a tamper, chisel, stakes, and a wheelbarrow.
DIY Projects: Patio Pavers
To avoid running into problems during the project, check with a local professional that you won’t hit any lines buried in your backyard when you start digging. You’ll also want to make sure that your plans are in line with local code regulations and check whether a permit is required before you break ground.
- Once you’ve measured your patio, plant stakes in the corners and wrap the stakes with string to frame the shape. Use your digging tools to create a level, excavated area for your patio. Most pavers are between 2 and 3 inches thick, so you need to dig down 7 inches or more, depending on how much gravel base you plan to use.
- Add 4 inches of paver base, getting it slightly wet to make it more compact. Solidify and level the base with a tamper tool, then add a 1-inch layer of paver sand. Once the area is level, you’re ready to add your paver stones.
- Configure your paver pattern one stone at a time. Once you make it to the final pieces, there will likely be some overlap with your borders. Use a hammer and chisel to cut the final stones down to size or consider renting a masonry saw.
- Stake your edging to create a solid border for your patio. This ensures that the pavers stay fixed in place over time.
- Fill the gaps with paver sand, using a broom and/or leaf blower to make sure all the sand gets wedged into the joints. Then, add water to activate the paver sand and wait for it to set completely per manufacturer instructions.
Once your paver patio is complete, it’s time to sit back, relax, and enjoy your backyard’s new centerpiece! For more DIY projects and backyard makeover tips, read the following blog post:
5 Design Projects to Improve Your Backyard
Featured Image Source: Getty Images – Image Credit: Joanne Dale
 Facebook
 X
X
 Pinterest
 Copy Link
