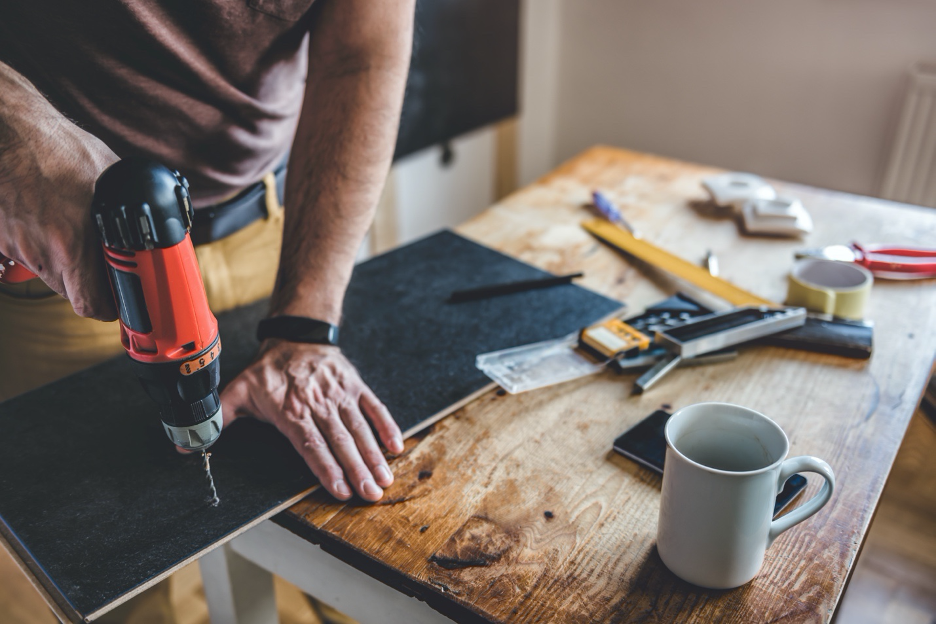
In recent months, homes have taken on additional roles as offices, schools, and places of entertainment as staying at home has become the norm. With the extra time spent inside and the additional wear and tear on your home, this is a perfect time for those Do-It-Yourself projects you’ve been wanting to get done.
Before getting out the power tools, take time to consider the projects you have in mind. If you’re questioning how the renovations will affect resale value, consult an expert, like your Windermere agent. Assess your budget to see if certain projects should be prioritized over others, or if you have the financial capacity for only one or two projects at this time.
Here are a few ideas:
Landscaping and garden projects: the steppingstones of your home’s DIY outdoor makeover.
- A great first step is to start with your front yard—it’s the first thing people see when approaching your home and upgrades to it will improve the curb appeal.
- Start with the hardscaping projects—driveways, decks, fencing, walkways—before installing plants.
- When it comes time to plant, add organic material to your soil such as peat moss, mushroom compost, or leaf mold for added health.
- Add in different shapes and textures of plants to give your landscaping a varied, vibrant look.
Repainting a room: follow these steps to give any room a fresh look and feel.
- The repainting process begins by moving all furniture out of the room. If you want to pile everything in the center and work around it, be sure to lay your drop cloths on the floor before doing so and cover your furniture to prevent damage.
- Repair any damage to the walls and fill in cracks with putty. This is a good time to remove all electrical outlets and switch covers to get the walls completely flat.
- Choose the appropriate brush or paint roller depending on the size of the surface area.
- Once the walls are painted, remove your painter’s tape and paint the trim.
Flooring projects: how to repair or add flooring that will have you walking through your house comfortably.
- Wood floor damage: To remove surface scratches from wood floors, use steel wool or fine grit sandpaper and finish with a top coat of polyurethane. For deep scratches, use wood filler that closely matches your flooring in color, and apply a wood finish layer on top.
- Vinyl floor damage: If your vinyl flooring has ripped up, apply a vinyl flooring adhesive and lay the ripped piece into place. For sections that are completely torn off, use a utility knife to cut a new piece of flooring and apply adhesive when matching the piece back into the floor.
- New tile flooring: Before you start tiling, wash the floor with a commercial detergent to remove dirt and stains. If you are laying new tile over old tile, make sure the original layer is secure. Begin by laying out the pattern before making your tile cuts. Then you are ready to apply the mastic or mortar, and finally lay the tiles. Let the tile sit for at least a day before grouting the joints.
With so many people staying at home, DIY projects are at an all-time high. Doing projects like these yourself may not be easy, but it gives a greater sense of ownership, and can often save you money by not outsourcing the work. For additional help on these projects and to find new ones, check out YouTube’s vast DIY resources.
 Facebook
 X
X
 Pinterest
 Copy Link
